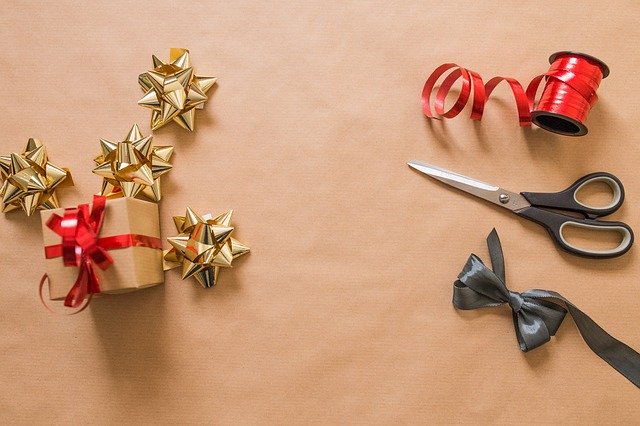
We like to have nicely wrapped gifts, but we don’t always manage to tie a decorative bow nicely. So today we present a short course on how to tie a bow.
How to make a bow?
The bow can be useful for decorating gift boxes, bouquets or as a decoration in itself. You don’t have to buy ready-made bows. If you have a ribbon or a piece of decorative material at home, you can easily do it at home.
The bow can also be useful as a hair ornament or decorating clothes.

A simple, universal way to tie a bow
Step 1: First of all, start by making a simple knot.
Step 2: Make a loop from the bottom of the ribbon and place the other end of the ribbon on it.
Step 3: Tie the first end carefully around and pull through the loop.
Step 4: Now pull gently on both ends to shape the ribbon.
Step 5: Correct the bow to make it look symmetrical. Don’t worry if it doesn’t work out the first time.
Step 6: Fold the ends in half and cut them diagonally.
Other ways to tie bows
Standard gift bow
This bow is very simple to make and is only suitable for sticking to a box or bag. We need two pieces of ribbon. The longer one is folded in half so that the join is in the middle of the length of the bow and with a smaller piece we wrap and glue from the bottom. It’s a simple but very effective bow that you can use for gifts.
Flowery bow
The flowery bow will delight everyone and is easier to make than you might think! To make it, we need one short piece of ribbon to tie the bow and another long to arrange it. We start by folding a single bow, and then arrange the next by crossing them in a circle. When we think that the number of individual bows satisfies us, we tie them with a short piece. Now all you need to do is spread the ribbon and bow evenly.
Classic bow
The classic, timeless bow will be the perfect ornament, decoration and culmination of any gift. We make this bow from one long piece of ribbon. We fold it into four equal parts and holding it we cross with each other, dragging one “shoulder” through the central part of the ribbon. Now it is necessary to pull it very tightly and arrange the bow. For a better effect, you can cut its ends into an arrow.
Bow like a bow tie
Do you want your bow to look like a male bow tie? Our advice is especially for you! Here we need ribbons of three widths and preferably two colors. The widest and average should be trimmed to the same length and folded so that their connection is halfway across the width of the bow. We tie the bow in half with the narrowest part and tie a nice knot. We are sure that this kind of bow will amaze every recipient or… your date.
Making a bow does not have to be difficult – just read our guide and choose the perfect bow for your needs. Your first bow doesn’t have to be perfect, training makes perfect and even a slightly clumsy bow will often look better than a complete lack of decorations on your gift, hair or clothing. The first step is the most important step, so do not underestimate it. Good luck!


